This post will show you how to install Moodle step by step by below details:
- OS: Ubuntu 18.04
- Web Server: Apache 2.4
- PHP 7.2
- Mysql 5.7
- Moodle 3.6
Step 1 (Prepare Server)
We chose to install Moodle on virtual server from Digital Ocean view “How to create new droplet”. Also you can use Amazon or other services which provide hosting on ubuntu virtual servers.
Step 2 (Upgrade and Install server )
In this example we will use “root”. If you will use simple user permission add “sudo” before each order in cli mode.
Connect to your new server via ssh protocol:
wget https://raw.githubusercontent.com/devlionco/bashscripts/master/install_ubuntu_18_04_php_7_2.sh

#then run
/bin/bash install_ubuntu_18_04_php_7_2.sh
after running bash script, it will install Apache+Mysql+PHP by automatically way
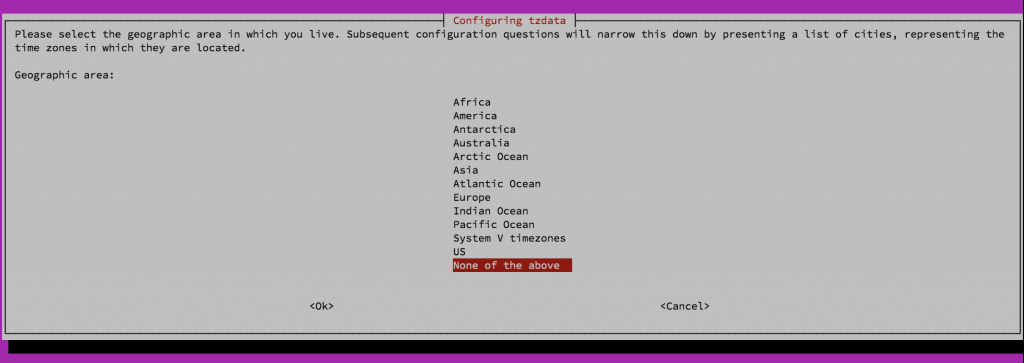
Step 3 (Set Timezone and validate your server)
Choose your timezone of the current server.
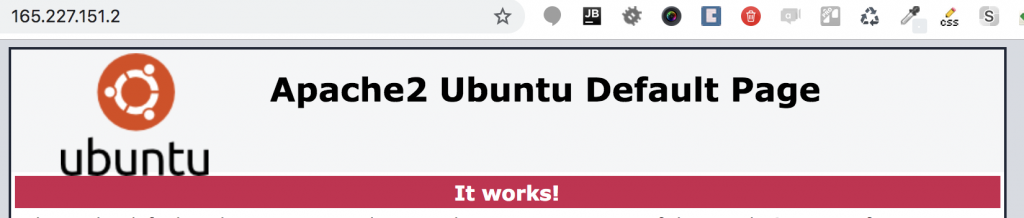
When script will finish to run, write your ip in browser and you will see
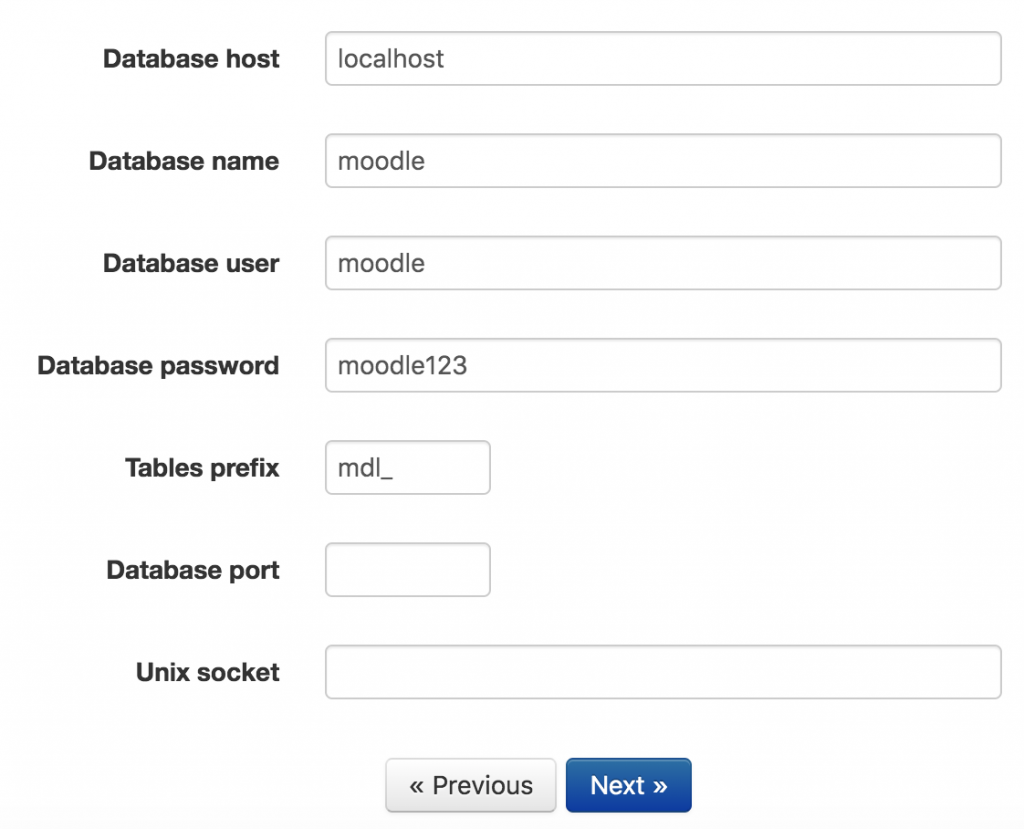
Step 4 (create new DATABASE)
If you doesn’t have password for mysql via “root”
write mysql in CLI mode:
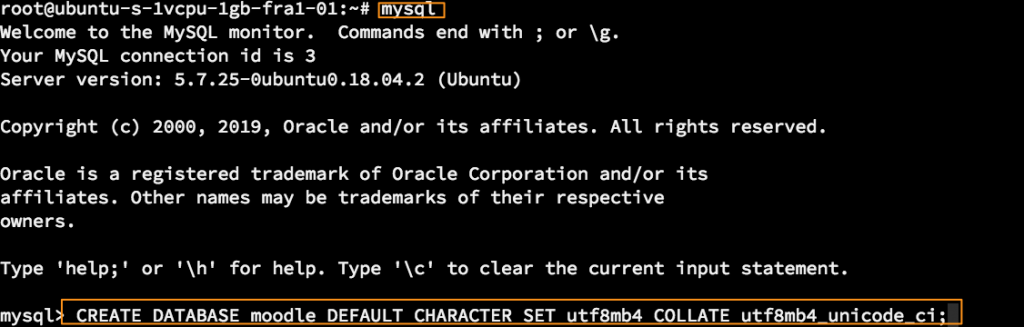
then create db and user “moodle” and password “moodle123”:
CREATE DATABASE moodle DEFAULT CHARACTER SET utf8mb4 COLLATE utf8mb4_unicode_ci;
GRANT ALL PRIVILEGES ON moodle.* to 'moodle'@'localhost' identified by 'moodle123';
Step 4 (install from repository)
/var/www/html – is apache root directory by default (all requests to current server via 80 port will be go there)
go to /var/www/ and create moodledata directory with permissions (777) and group “www-data” (what is it moodledata in moodle?)
run this:
mkdir /var/www/moodledata
chmod 777 /var/www/moodledata -R
chown www-data:www-data /var/www/moodledata -R
remove /var/www/html directory
rm /var/www/html -r
Download new Moodle instance from the git repository and locate it in /var/www/html run this order:
git clone -b MOODLE_36_STABLE https://github.com/moodle/moodle.git /var/www/html

set temporary permission on moodle directory to future installation.
chmod 777 /var/www/html -R
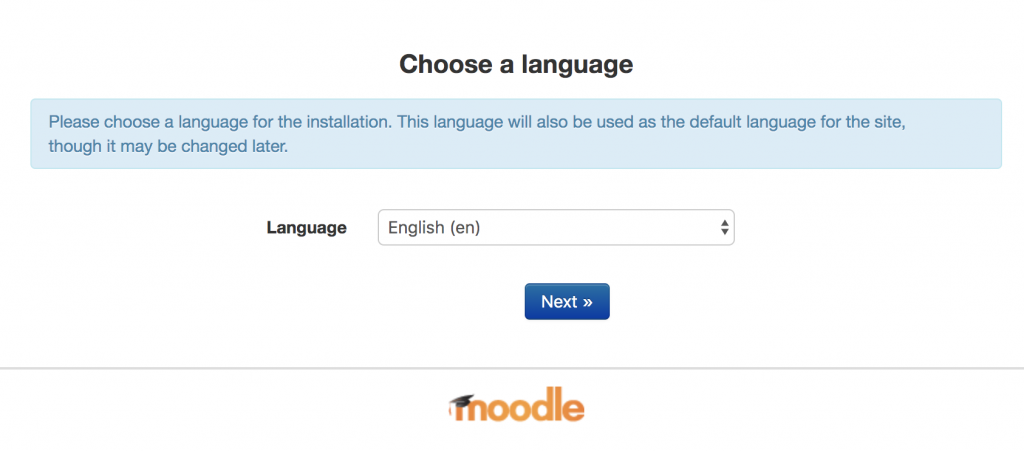
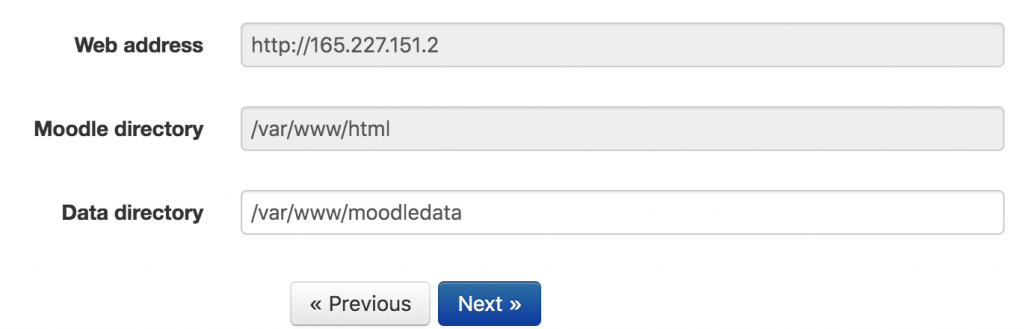
Step 5 (install new MOODLE in browser)
got to your browser with ip address of the server, you must see:
set your path to the moodledata.
set your password to created Database in Database settings screen
Validate that all php extension are availble

Step 6 (set permissions and set cron)
run to set permission on
chown www-data:www-data /var/www/html -R
chmod 755 /var/www/html -R
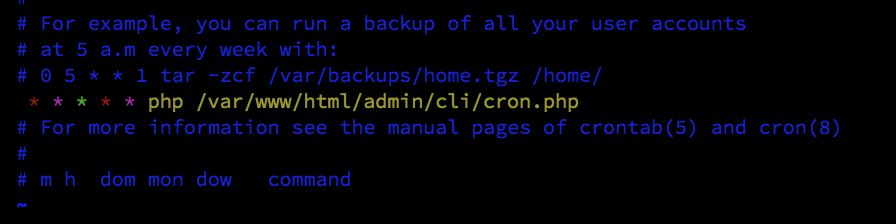
add to crontab the order run:
crontab -u www-data -e
* * * * * php /var/www/html/admin/cli/cron.php
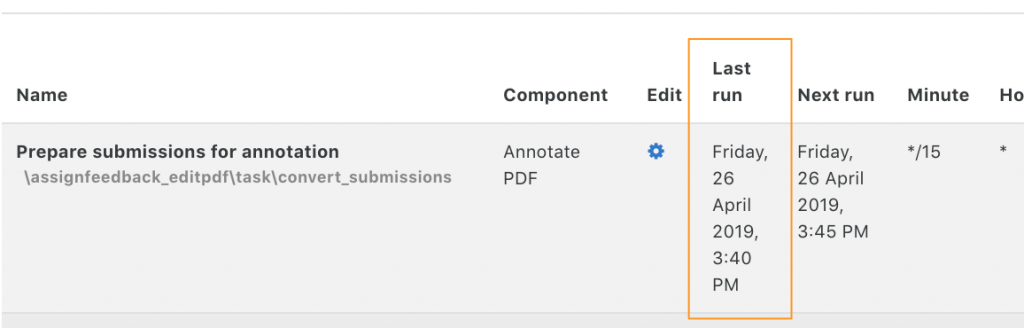
validate cron works in your Moodle instance:
Dashboard -> Site administration -> Server -> Scheduled tasks